Saturday, August 27, 2011

Mt. Rainier National Park, Mt. Fremont Lookout 08/27/2011

Entering Mount Rainier National Park via Highway 410.

National park sign directly across the street from turnoff to the Sunrise area trails.

Arrived at the trailhead.

Follow the Mt. Fremont Trail.

Take the Sourdough Ridge trail to Frozen Lake and then to the Mt. Fremont trail.

Mt. Rainier, my constant hiking partner today!

Even though it is later in the season, the wildflowers were in full bloom.


The wildflowers were so fragrant in places.....It was practically intoxicating.


This marmot was so unalarmed by my presence it just went about enjoying the ample meadow vegetation.

Frozen Lake.

Trailhead sign for Mt. Fremont, just past Frozen Lake.


Trail to Fremont lookout, if you look closely you can see the lookout tower from here. Mt Rainier will be behind you now for the rest of your hike to the lookout.......don't worry, you can still turn around a steal a few glances of its magnificent beauty.

Fremont Lookout

On clear days such as today you can view Mt. Baker, Glacier Peak (pictured center), and Mt. Stuart (pictured right).

View of Mt. Rainier from Fremont Lookout.

Me and Mt. Rainier

Last view of Mt. Rainier for today......couldn't have asked for a better day.
Today I went to Mt. Rainier National Park to do a solo day hike. The weather was beautiful, the kind of day we wait all year for! (Especially here in Seattle.) Because I was alone, I made sure to stop at the Ranger station and give them my name, the date and my planned route. I also had given my hiking itinerary to my friend James. It is especially important to let someone know of your plans including your return time, so that if something happens to you someone knows to look for you.

At the start of my hike I made conversation with a Park Ranger. He was working with volunteers of the Washington Trails Association for the day. They were going to repair part of the Huckleberry Creek trail which was damaged by flooding back in 2007. He gave me some insight into how he had come to work for the park and I told him about my quest to become a Mountaineering guide. At the trail junction for the Huckleberry Creek he wished me luck in my pursuits. I then continued down the Sourdough Ridge trail heading toward Frozen Lake.

Once past Frozen Lake you will see the trail marker to Mt. Fremont off to your right (north). The trail heads down a beautiful meadow where the wildflowers were in bloom and fully fragrant. Then you start gaining a bit more elevation. The trail is rocky but in very good shape all the way out to Fremont lookout.

It was a fantastic day, and I didn't even mind all the other hikers sharing the trail.  (I really couldn't blame them for wanting to take in the breathtaking scenery on such a wonderfully sunny day!)

Start time: 09:00
End time: 13:30
Total time: 4.5 hours
Approximate Speed: 1.24 miles/hour
Distance: 5.6 miles
Peak Elevation: 7,200 feet
Elevation gain: 800 feet

Note: This trail is quite popular, so if you'd like to avoid he crowds start early, as the middle part of the day is the busiest.


Driving Directions: From Enumclaw, drive east 43 miles on State Route 410 to the Mount Rainier National Park White River Entrance. Veer right onto the Sunrise Road and follow it 17 miles west to the large parking lot and visitor center at the road's end.

Note: Sunrise Road usually doesn't open until early July.


Links: http://www.wta.org/go-hiking/hikes-of-the-week/hikes/mount-fremont-lookout
http://www.visitrainier.com
www.nps.gov/mora/

Wednesday, August 24, 2011

Chirico Trail 8/18/2011


There are multiple views of Mt. Rainier  on this hike, but the one at the summit is by far my favorite.

View of Rainier on the way home.

Chirico Trailhead
Scott, Isabel (my beautiful boxer pup) and I hiked up the Chirico trail to Poo Poo point. It is known for its local paragliders. We were trying to condition with weight in our packs, for which we were using 5 gallon Swiss army water bags (giving us a weight of about 50lbs). I must say it was difficult...so we took it slow  and steady. The benefit of using a water bag is twofold:
     1.  It allows for plenty of water availability for your companions (or in my case this was mostly for Isabel)
     2. You can empty the water at the top as to help reduce the strain on your knees on the way back down.

I look forward to seeing how my conditioning improves over the next several months.

Check out my previous post on the Chirico Trail.


To get to the trail head from Seattle go east on I-90 to exit 17 (Front Street). Turn right off the freeway and travel 2.8 miles  (Front Street turns into Issaquah-Hobart Rd.) to the gravel parking area on the left just past the paragliding building. The trail head is across the field.

Monday, August 15, 2011

Does a bear s**t in the woods? Someday you might have to too....

Human Waste Disposal in the Backcountry: How to urinate and defecate in the woods...


     Ok, so I realize this is not a subject that is preferred to be discussed (at least by me) but as an infrequent traveler of places not sporting civilized restrooms I had questions and so without further ado I will let you in on what I've learned.

We will start with peeing or urination as it #1 and it is relatively simple in terms of human waste disposal. 

Urination

    1. Pee away from water sources, campsites and trails (approx. 200ft). 

    2. Urinating on rocks, pine needles, and gravel is less likely to attract wildlife which may be attracted to the salts in the urine; and prevent defoliation of plants and soil by wildlife attempting to dig it up. 

    3. Diluting urine with water from a water bottle can help minimize negative effects.

    4. Wash hands with sanitizer.....no one wants to share trail mix with the person with unclean hands. Remember, proper hand hygiene is better for everyone!!

Tips for Women: Ok, ladies urinating in the backcountry is slightly more challenging for us as we cannot just "aim and shoot".....until the development of FUD or Female Urination Device. There are several manufactures of FUD's but two of the most common brands are: Go Girl  and Freshette which are both reusable. FUD's also come in a disposable cardboard type like the Whizzy and the P-Mate.

Otherwise, ladies if you choose not to use a FUD, make sure to try and avoid your pants and boots....and always check to see what you are squatting over!!

Defecation

"Proper disposal of human waste is important to avoid pollution of water sources, avoid the negative implications of someone else finding it, minimize the possibility of spreading disease, and maximize the rate of decomposition. " © Leave No Trace Center for Outdoor Ethics

So, here are where things get tend to get tricky as most people have an opinion.... but the two most agreed upon methods are to bury the waste or to pack it out and we will discuss both options.


1. Burying Waste
 1. Burying Waste via a Cathole
    1. Once again human waste should be about 200ft away from water, the trail or the campsite.
    2. Select an inconspicuous site where other people will be unlikely to walk or camp, as no one likes           coming across another persons feces.
    3. With a trowel dig a hole that is 6-8 inches deep and 4-6 inches in diameter.
© Leave No Trace Center for Outdoor Ethics
   
    4. Do your buisness....but I advocate for using Leave No Trace and don't placed used toilet paper into the cathole, pack it out with you. Should you decide to bury your toliet paper make sure you are only using non-perfumed toilet paper.
Two additional TP (toliet paper) rules: 1. never bury toilet paper in a desert environment (it's not wet enough to facilitate decomposition), and 2. never burn it (wildfires).

    5. Once you've taken care of business, the hole must be filled in, covered over and disguised with ground material. Make sure to avoid touching the waste with your trowel.
    
    6.  Wash hands with sanitizer.....no one wants to share trail mix with the person with unclean hands. Remember, proper hand hygiene is better for everyone!!

If with a group or you are going to be in the Backcountry for several days make sure to space out catholes or build a latrine.

 2. Building a Latrine
     1. A latrine is essentially a long cathole, so the previous 200ft rule applies.
     2. Dig a six-foot long trench that is still 6-8 inches deep.
     3. Start at one end and make deposits.
     3. Cover up the part of the trench used each time a deposit is made.

2. Packing it out 
   Some places require you to pack out your human waste, (i.e. the desert, as it is not wet enough for proper decomposition to occur) therefore we will discuss some options in helping to carry it out while minimizing stench.


1. Building a "poop tube"


Here I will show you step by step how to construct a "poop tube":


Step 1: Gather Materials: 3" or 4" Diameter PVC pipe 12-24" in length, a end cap, a plug, a slip thread coupling, glue, duct tap and climber's webbing.

Step 2: Glue cap on one end of the PVC pipe. Use the plug on the other end of the PVC pipe.

Step 3: Attach climber's webbing to PVC pipe using duct tape to create a handle for poop tube. Webbing should have a loop on the end tied by a half hitch knot.


Those are the essentials of backcountry bathroom etiquette. I hope this guide helps to answer some questions of what to do when "nature calls."


Links:
http://www.trailspace.com/articles/backcountry-waste-disposal.html
http://www.lnt.org/programs/principles_3.php
http://outsak.blogspot.com/2011/02/how-to-dig-cathole-and-make-deposit_17.html
http://www.backpacking.net/ethics.html

Sunday, August 14, 2011

Esmeralda Trail, Lake Ann Camping 8/6-8/7/2011


Scott and Isabel, my hiking companions!


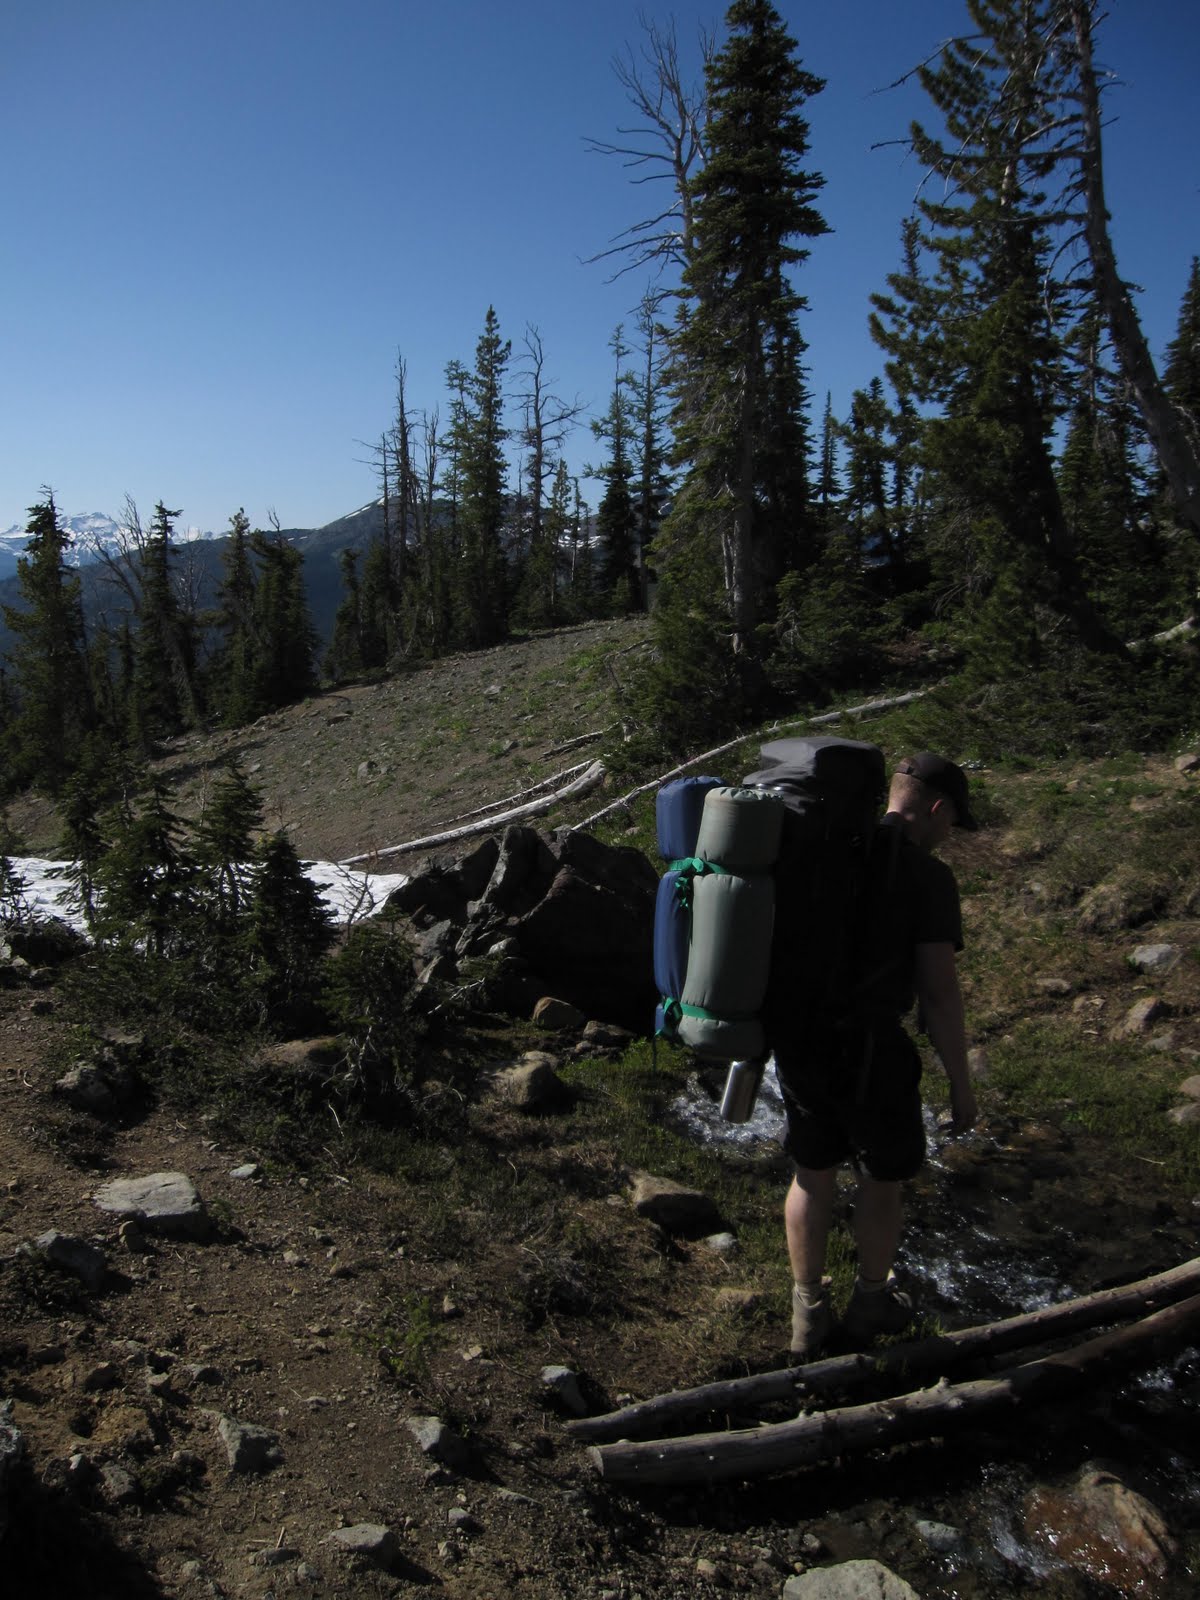
There were several stream crossings along the way.


Break time!


The trail is pretty steep in places

View of Mt. Rainier, Day one!

The trail levels off about 3/4 of the way up to the summit for a short distance before once again steeply climbing.

View of Lake Ann from the top..... you only need to traverse down from here!


Scott headed down the path to Lake Ann!
Me and the August snow!
Isabel


Fun in the Snow!

Caution! Stream Crossing.

The view from our camp.

Setting up the tent.


Isabel, tired after a long days work.

Hanging out in the tent to avoid the mosquitos

The moon above the ridgeline.

Sunset

Isabel, prepared with her flashlight.

Early morning view.

Wildflowers in bloom.

Me in the morning.

Packing up camp, making sure to leave nothing behind.

Reflection off Lake Ann.

Mt. Rainier, Day Two


Headed home.

This weekend my friend Scott and I hiked up to Lake Ann to camp with my dog Isabel. We had decided to do a quick overnight trip to test out our gear and get used carrying fully loaded packs. We took the Esmeralda basin trail up to Lake Ann. The Esmeralda Basin Trail begins on an old mining road and climbs beside the North Fork Teanaway River. It is about four miles and gains considerable elevation, passing through meadows and topping an unnamed 6500' pass before dropping 300 feet to the lake. At 6200', the lake is at the timberline. The vegetation around the lake is thin. The east shore is a barren boulder slope rising 1000' to the top of Ingalls Peak. The weather was quite warm during the day but it got a bit chilly in the evening. This is one of the best hikes I've been on, and the scenery is simply unmatched.

Driving Directions: Exit I-90 east of Cle Elum. Take SR 970 north to the Teanaway Road. Follow the North Fork Teanaway Road to the 29 Pines Campground where the pavement ends at a fork in the road. Take the right fork, FR 9737, 10 miles to its end at trailhead #1394, Esmeralda Basin


Follow the #1394 Esmeralda Basin trail, the first 1/4 mile of the trail is a bit rough and moderately steep following along a raging creek. At 2 miles the trail heads off to the right and switchbacks up the south slope of Ingalls Peak. The next trail junction is just beyond a small stream crossing at 5900', 3.1 miles from the trailhead. At this point follow the County Line trail #1226.2.  The County Line trail #1226.2 climbs north to another lovely meadow, and then follows an old watercourse to an unnamed pass above tiny Lake Ann.

Please Note: Most of the Alpine Lakes do not allow Dogs!